



A self-signed certificate is one you issue to yourself instead of buying it from a certificate authority. Browsers won’t trust it automatically, so it has no place on a public website, but it is the fastest way to put HTTPS on a development machine, a staging box, an internal dashboard, or any service that never faces the open internet.
This guide shows you how to create a self-signed certificate with OpenSSL on Windows, Linux, and macOS. The command is the same on all three. You’ll also see how to check that the certificate you produced is actually usable, and how to make your own machine trust it so the browser warnings go away.
What a self-signed certificate is
A self-signed certificate is a digital certificate signed with its own private key rather than by a trusted certificate authority (CA). Cryptographically it is a normal X.509 certificate: it encrypts traffic exactly as well as a purchased one. What it lacks is a chain of trust. Nothing outside your own machine has any reason to believe it, so browsers show a warning until you tell them otherwise.
That makes self-signed certificates a good fit for:
- Local development, where you need HTTPS so that cookies, service workers, or a payment SDK behave the way they will in production.
- Internal services such as an intranet dashboard, a monitoring panel, or a device management interface on a private network.
- Testing and staging, where you want to rehearse a TLS configuration without spending a certificate on it.
- Origin servers behind a proxy that accepts an untrusted certificate on the back-end leg, such as Cloudflare in Full mode.
They are the wrong tool for anything a real visitor will load. We cover that distinction in detail further down, under when not to use one.
Before you start: check your OpenSSL
You need the OpenSSL command-line tool. Confirm what you have:
openssl version- Linux: OpenSSL is pre-installed on most distributions. If it isn’t, see our guide on how to install OpenSSL on Ubuntu.
- Windows: OpenSSL is not included. Follow our instructions on how to install OpenSSL on Windows, then run the command from Command Prompt or PowerShell.
- macOS: Apple ships LibreSSL, a fork of OpenSSL, as the built-in openssl command, so this returns something like LibreSSL 3.3.6 rather than an OpenSSL version.
The main command in this guide works on LibreSSL 3.3.6 as well as on current OpenSSL, so Mac users can use the built-in tool. If you would rather have genuine OpenSSL (some of the optional commands below need it), install it with the Homebrew package manager and call it by its full path:
brew install openssl@3
/opt/homebrew/opt/openssl@3/bin/openssl version
On Intel Macs the path is /usr/local/opt/openssl@3/bin/openssl instead. For more detail on reading the output, see our guide on how to check your OpenSSL version.
How to create a self-signed certificate with OpenSSL
Step 1: Open a terminal
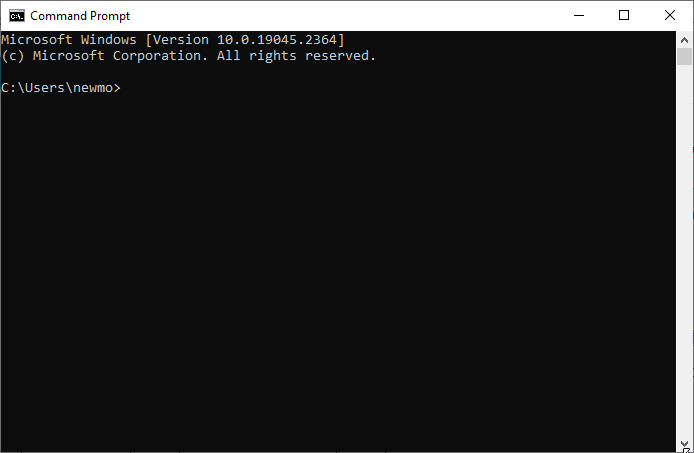
On Linux, press Ctrl + Alt + T or search for “Terminal” in your applications menu. On macOS, open Applications, then Utilities, then Terminal, or press Cmd + Space and type “Terminal”. On Windows, press Win + R, type cmd, and press Enter.
Step 2: Move to the folder where you want the files
OpenSSL writes its output to whatever directory you are currently in, not to the directory OpenSSL is installed in. Create a folder for this certificate and move into it so the key and certificate land somewhere you can find them:
mkdir my-cert
cd my-cert
On Windows, use the same two commands in Command Prompt. Do not run the commands from inside the OpenSSL program folder: on Windows that directory often isn’t writable by a normal user, and mixing your keys in with the binaries makes them easy to lose.
Step 3: Run the certificate command
This single command generates the private key and the self-signed certificate together. Replace example.com and www.example.com with the names your service will actually be reached by:
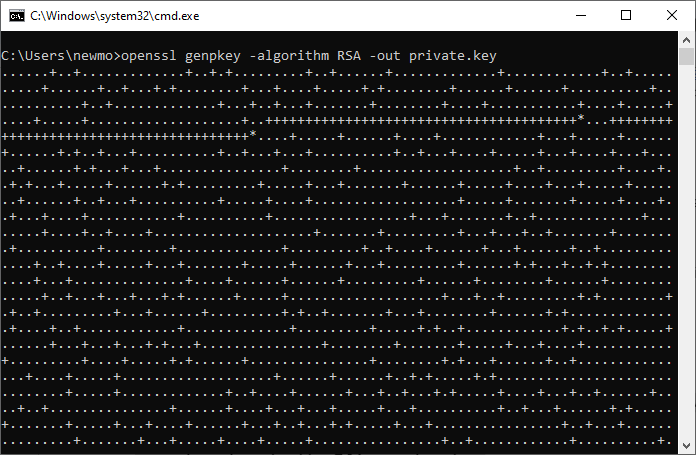
openssl req -x509 -newkey rsa:2048 -keyout private.key -out certificate.crt -days 365 -nodes -addext "subjectAltName=DNS:example.com,DNS:www.example.com" -addext "basicConstraints=critical,CA:FALSE" -addext "extendedKeyUsage=serverAuth"Keep it on one line. Command Prompt and Unix shells use different line-continuation characters, and a single line works everywhere. Use double quotes, not single quotes, for the same reason: Command Prompt does not treat single quotes as quoting.
Here is what each part does:
- req -x509: produce a finished, signed certificate instead of a certificate signing request.
- -newkey rsa:2048: create a new 2048-bit RSA private key as part of the same command. 2048 bits is the current minimum and a sensible default. Use rsa:4096 if your policy requires a larger key, at the cost of slower handshakes.
- -keyout private.key: the filename for the private key.
- -out certificate.crt: the filename for the certificate.
- -days 365: how long the certificate stays valid. See the validity section below before changing this.
- -nodes: leave the private key unencrypted, so your web server can start without a human typing a passphrase.
- -addext “subjectAltName=…”: the list of hostnames the certificate is valid for. Without this, the certificate matches nothing.
- -addext “basicConstraints=critical,CA:FALSE”: mark the certificate as an end-entity (server) certificate rather than a certificate authority.
- -addext “extendedKeyUsage=serverAuth”: state that the certificate is for authenticating a TLS server. Apple platforms treat this as mandatory.
Why the three -addext options matter
These three flags are the difference between a certificate that works and one that clients refuse outright. They are worth understanding, because a self-signed certificate created without them fails in three ways that are easy to misdiagnose.
Subject Alternative Name is where hostnames live. Browsers stopped reading the Common Name field years ago and now match the hostname only against the Subject Alternative Name (SAN) extension. A certificate with no SAN matches no site, however correct the Common Name looks. List every name you will use, separated by commas. For a local service you can include an IP address too:
-addext "subjectAltName=DNS:localhost,DNS:dev.example.com,IP:127.0.0.1"Without CA:FALSE, OpenSSL builds you a CA certificate. When req -x509 is left to its own defaults it sets basicConstraints to critical, CA:TRUE, which describes a certificate authority, not a web server. Chrome and Safari accept that on a server certificate. Firefox does not, and stops with MOZILLA_PKIX_ERROR_CA_CERT_USED_AS_END_ENTITY. You can still click Advanced and add an exception, but you would be working around a certificate you already know is malformed, and other clients draw the line in different places. Passing basicConstraints=critical,CA:FALSE avoids the situation from the start.
The LibreSSL build that macOS ships behaves differently here: left to its own defaults it writes an X.509 version 1 certificate with no extensions at all, so you get no CA:TRUE problem but no Subject Alternative Name either. Supplying the extensions explicitly gives you the same, correct certificate on both tools.
Without serverAuth, Apple platforms reject the certificate. Apple’s published requirements for trusted certificates state that a TLS server certificate must carry an ExtendedKeyUsage extension containing the id-kp-serverAuth OID. A certificate without it fails macOS certificate validation under the TLS policy with the message “Invalid Extended Key Usage for policy”, even when the certificate is supplied as its own trust anchor. Firefox and Chrome are more forgiving and treat a missing ExtendedKeyUsage on a server certificate as permitted, so this one is easy to miss until a Mac or an iPhone is the thing that will not connect. Adding extendedKeyUsage=serverAuth costs nothing on the other platforms and is what a public CA would issue anyway.
Step 4: Fill in the certificate details
OpenSSL asks for the fields that make up the Distinguished Name. Pressing Enter does not skip a field: it accepts whatever default the configuration file holds, and the stock openssl.cnf ships with C = AU, ST = Some-State and O = Internet Widgits Pty Ltd, which then end up in your certificate. To leave a field out altogether, type a single period and press Enter. Fill in at least the Common Name. The LibreSSL build on macOS behaves differently again: it stops with “error, no objects specified in config file” and writes nothing if you leave every field blank. The values below are examples, so use your own:
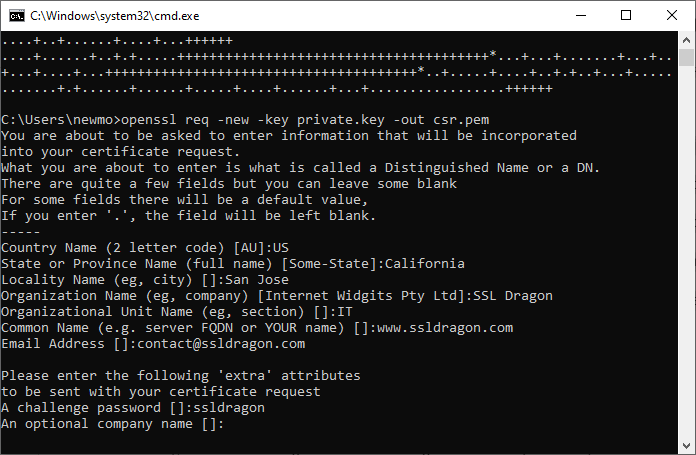
- Country Name: the two-letter code for your country, for example US.
- State or Province Name: written out in full, for example California.
- Locality Name: your city, for example San Jose.
- Organization Name: your company or project name, for example Example Inc.
- Organizational Unit Name: the team responsible, for example IT.
- Common Name: the main hostname, for example example.com. Use the same name you put first in the Subject Alternative Name list.
- Email Address: a contact address, for example [email protected]. Optional.
Only the Common Name really matters here, and only as a label: the hostname matching is done by the Subject Alternative Name you already set on the command line. Everything else is descriptive.
You will notice the command never asks for a challenge password. That prompt belongs to certificate signing requests, and it is a vestigial field that CAs generally ignore or reject. Because this command produces a finished certificate rather than a request, the prompt does not appear at all.
Step 5: Verify the certificate before you use it
Do not skip this. A self-signed certificate can be generated successfully and still be unusable, and the failure only shows up later as a browser error. Read the certificate back:
openssl x509 -in certificate.crt -noout -textIn the X509v3 extensions block you are looking for exactly three things:
X509v3 Subject Alternative Name:
    DNS:example.com, DNS:www.example.com
X509v3 Basic Constraints: critical
    CA:FALSE
X509v3 Extended Key Usage:
    TLS Web Server Authentication
If the Subject Alternative Name line is missing, the certificate will not match any hostname. If Basic Constraints says CA:TRUE, Firefox will stop on it. If the Extended Key Usage line is missing, Apple platforms will refuse the certificate. In any of those cases, delete the two files and run the command again with all three -addext options present.
On OpenSSL 3.x you can ask for just those extensions instead of reading the whole certificate:
openssl x509 -in certificate.crt -noout -ext subjectAltName,basicConstraints,extendedKeyUsageThe -ext flag does not exist in the LibreSSL build that macOS ships, which reports “unknown option -ext”. On a stock Mac, use the -text version above.
To confirm the certificate and the key belong together, compare their moduli. The two commands must print the same hash:
openssl x509 -noout -modulus -in certificate.crt | openssl md5
openssl rsa -noout -modulus -in private.key | openssl md5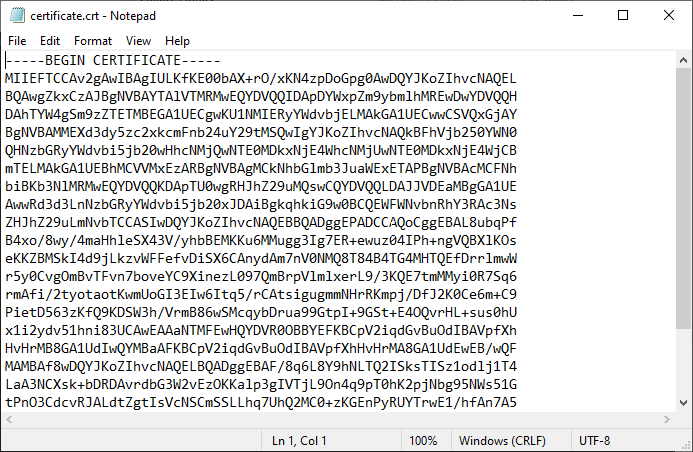
The certificate itself is a text file. Opening it in a text editor shows a base64 block between BEGIN CERTIFICATE and END CERTIFICATE lines, which is what you paste into control panels that ask for the certificate rather than a file upload.
Variations on the command
Generate it without any prompts
For scripts and CI pipelines, supply the Distinguished Name with -subj and the command runs unattended:
openssl req -x509 -newkey rsa:2048 -keyout private.key -out certificate.crt -days 365 -nodes -subj "/C=US/ST=California/L=San Jose/O=Example Inc/CN=example.com" -addext "subjectAltName=DNS:example.com,DNS:www.example.com" -addext "basicConstraints=critical,CA:FALSE" -addext "extendedKeyUsage=serverAuth"Use an EC key instead of RSA
Elliptic-curve keys are smaller and faster than RSA at equivalent strength, and every current browser supports them. P-256 is the standard choice:
openssl req -x509 -newkey ec -pkeyopt ec_paramgen_curve:prime256v1 -keyout private.key -out certificate.crt -days 365 -nodes -addext "subjectAltName=DNS:example.com,DNS:www.example.com" -addext "basicConstraints=critical,CA:FALSE" -addext "extendedKeyUsage=serverAuth"The result is signed with ecdsa-with-SHA256. Stay with RSA if you have to support old embedded clients or legacy Java versions, which sometimes lack EC support.
Use genuine OpenSSL for this one. The LibreSSL build on macOS accepts the command, but it writes the curve into the certificate as a full set of explicit parameters instead of the standard P-256 identifier. RFC 5480 states that the explicit form must not be used in certificates, and macOS itself rejects a certificate encoded that way.
Check the result with openssl x509 -in certificate.crt -noout -text: you want a line reading “ASN1 OID: prime256v1”, not a block listing Prime, A, B, and Generator. On a stock Mac, either use the RSA command above or install OpenSSL through Homebrew first.
-nodes or -noenc?
Both flags do the same thing: they stop OpenSSL from encrypting the private key with a passphrase. OpenSSL 3.x added -noenc as the clearer name and lists -nodes as deprecated, though it still accepts it. LibreSSL, which macOS ships, does not recognise -noenc at all and errors out.
This guide uses -nodes because it is the option that works on every build you are likely to meet, including a stock Mac. If you are on OpenSSL 3.x and want to avoid the deprecated spelling, swap in -noenc. Nothing else changes.
If you drop the flag entirely, OpenSSL encrypts the key with a passphrase you choose, and your web server will then prompt for it on every restart. That is rarely what you want for a development certificate.
Make your machine trust the certificate
A correct self-signed certificate still produces a browser warning, because nothing has been told to trust it. Adding it to your local trust store is what turns the warning off, and it is usually the point of creating one in the first place.
Do this only on machines you control, and only for certificates you generated yourself. A trusted certificate is trusted for every site it names, so treat the private key accordingly and never share it.
macOS Keychain
Add the certificate to the system keychain and mark it as trusted for TLS. You’ll be asked for your administrator password:
sudo security add-trusted-cert -d -r trustRoot -p ssl -k /Library/Keychains/System.keychain certificate.crtThe -p ssl part limits the trust to TLS connections. Leave it out and the certificate is trusted for every purpose macOS knows about, including code signing, which is far more than a development certificate needs.
To do it through the interface instead, double-click the certificate file to open Keychain Access, find the entry under the System keychain, open it, expand Trust, and set When using this certificate to Always Trust. To undo it later, delete the entry from Keychain Access.
Windows certificate store
Open Command Prompt as administrator (press Win + R, type cmd, then press Ctrl + Shift + Enter) and add the certificate to the Trusted Root Certification Authorities store:
certutil -addstore -f "Root" certificate.crtAlternatively, double-click the certificate file, choose Install Certificate, select Local Machine, then Place all certificates in the following store, and browse to Trusted Root Certification Authorities. To remove it later, open certmgr.msc and delete the entry from that store.
Linux ca-certificates
On Debian and Ubuntu, copy the certificate into the local anchors directory and rebuild the bundle. The file has to keep a .crt extension or the update tool will ignore it:
sudo cp certificate.crt /usr/local/share/ca-certificates/
sudo update-ca-certificates
On RHEL, CentOS, AlmaLinux, Rocky, and Fedora, the paths differ:
sudo cp certificate.crt /etc/pki/ca-trust/source/anchors/
sudo update-ca-trust extract
The Firefox exception
Firefox keeps its own trust store rather than using the operating system’s. On Windows and macOS it also reads roots added to the OS store by default, so the steps above normally cover it. On Linux it does not, so the certificate has to be imported into Firefox directly: open Settings, then Privacy & Security, scroll to Certificates, click View Certificates, open the Authorities tab, and use Import.
Restart the browser after any of these changes. Browsers cache certificate decisions, and a stale session is a common reason the warning appears to persist after a correct import.
When not to use a self-signed certificate
Never put one on a site the public will visit. Every visitor gets a full-page security warning, and the ones who proceed anyway have been trained to click through exactly the warning that protects them from a real attack. There is also no way for a visitor to tell your self-signed certificate apart from an attacker’s, which is the whole reason browsers distrust them. We go into the details in our article on the dangers of self-signed certificates.
Self-signed certificates also fail practical requirements beyond the browser warning. Payment processors, app stores, mobile apps with certificate pinning, and most compliance regimes require a certificate from a recognised CA. For anything public facing, use a certificate issued by a trusted certificate authority, which you request with a CSR and validate before issuance. Once it is live, confirm the installation with our SSL Checker.
Save 10% on SSL Certificates when ordering from SSL Dragon today!
Fast issuance, strong encryption, 99.99% browser trust, dedicated support, and 25-day money-back guarantee. Coupon code: SAVE10

