This guide shows how to install a code signing certificate on your YubiKey 5 FIPS HSM device. To follow these steps, you should have already generated a Certificate Signing Request (CSR) on your YubiKey 5 FIPS HSM and received the code signing certificate from Sectigo after completing the validation process.
How to Install a Code Signing Certificate on YubiKey 5 FIPS?
Follow the instructions below to complete your code signing certificate installation:
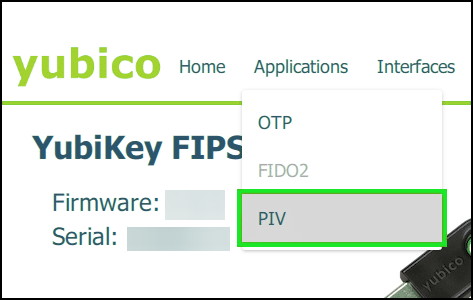
Step 1: Launch YubiKey Manager and Access PIV
Open the YubiKey Manager and go to the Applications section. Then, click on PIV to access the Personal Identity Verification functionality.

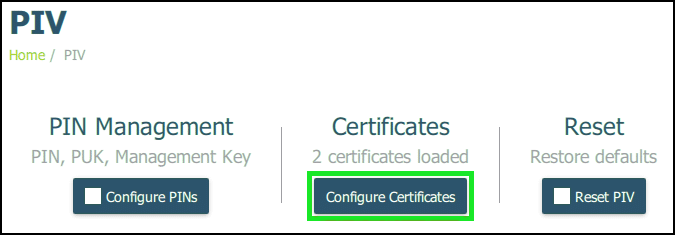
Step 2: Configure Certificates
In the PIV section, find the option to configure certificates and click on it.

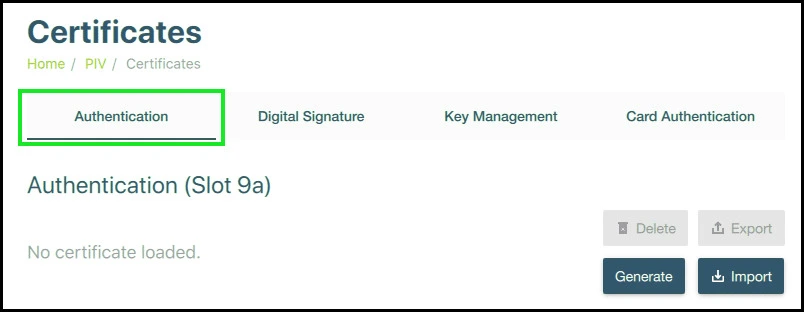
Step 3: Choose the Authentication Tab
Select the Authentication tab corresponding to the same YubiKey slot where you previously generated the key pair. If you followed our CSR generation instructions, this would be Slot 9a.

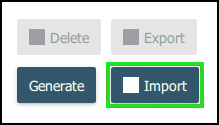
Step 4: Import the Code Signing Certificate
Click on the Import button and locate the code signing certificate file you received from Sectigo. Import the certificate into the YubiKey.

Step 5: Provide Management Key
When prompted, enter your YubiKey 5 FIPS device’s management key and click OK to proceed with the installation.

Step 6: Enter PIN
Next, you will be asked to enter your YubiKey 5 FIPS device’s PIN. Once entered, click OK to complete the installation process.

Additional Tip
For enhanced security and complete trust in your digital signatures across all computers, consider installing the intermediate and root certificates provided by Sectigo. This ensures a full chain of trust for your code signing certificate.
Save 10% on SSL Certificates when ordering from SSL Dragon today!
Fast issuance, strong encryption, 99.99% browser trust, dedicated support, and 25-day money-back guarantee. Coupon code: SAVE10


