
This tutorial explains how to complete your code signing order with YubiKey 5 FIPS series (install on existing HSM method). Before you begin, you must own a YubiKey 5 FIPS HSM device and be familiar with its software.
Attention: This guide is for Windows users. For other operating systems, consult Yubico for specific instructions.
YubiKey HSM Attestation Package
The YubiKey 5 FIPS Series USB tokens can generate attestation certificates necessary for your code signing order. An attestation certificate, signed by the intermediate certificate (downloadable from the HSM), matches your CSR (Certificate Signing Request) and is further signed by the YubiKey private root certificate.
For more detailed technical information about the YubiKey 5 FIPS Series and its PIV: FIPS 140-2 capabilities, please consult the YubiKey 5 FIPS Series Technical Manual documentation on the Yubico website (yubico.com).
This service expects a Base64-encoded PEM certificate chain containing two certificates:
- Attestation certificate that matches the given CSR.
- Intermediate certificate.
Generate CSR
Here’s the step-by-step process to generate your CSR and attestation certificate, as well as obtain the intermediate attestation certificate from your YubiKey 5 FIPS HSM:
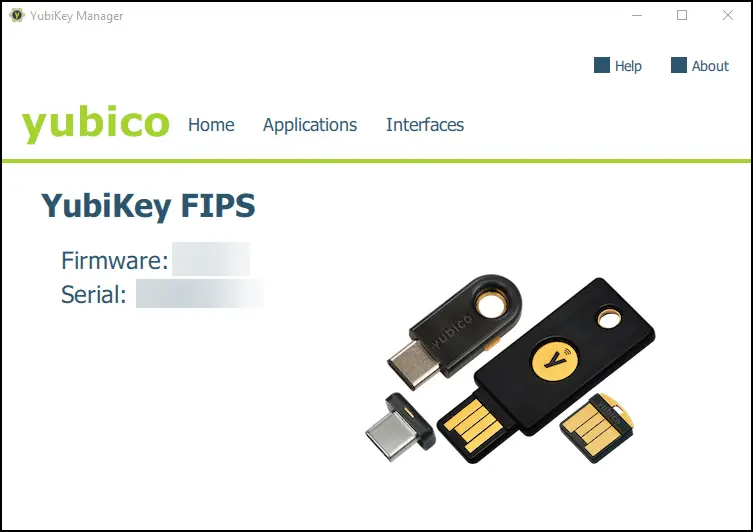
1. Insert your YubiKey 5 FIPS HSM and launch the YubiKey Manager. You should see your YubiKey 5 FIPS device displayed in the Manager window.
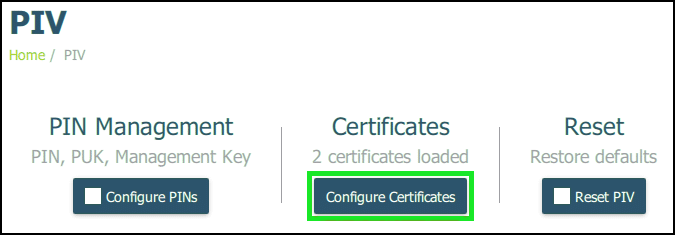
2. Go to Applications > PIV

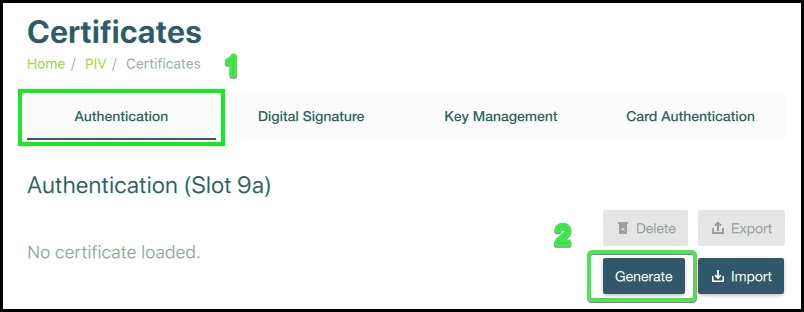
3. Select Certificates.
3. Choose Authentication (Slot 9a) for EV code signing certificates and click Generate.
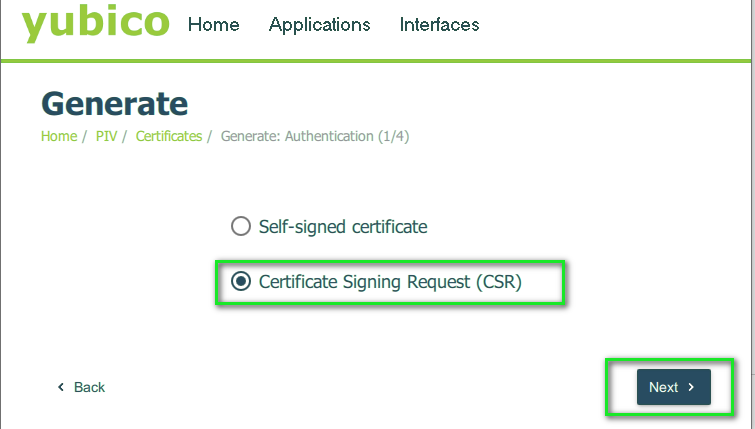
4. Choose Certificate Signing Request (CSR) and proceed to the next step.
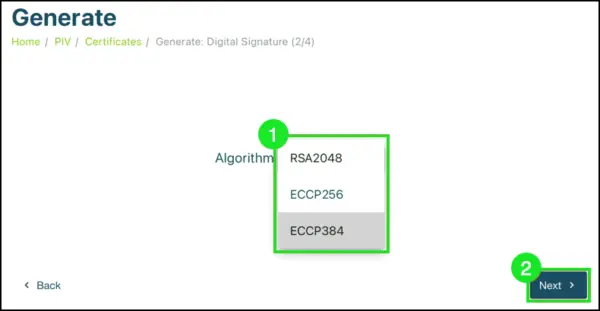
5. Select an algorithm from the drop-down menu and continue.
Note: Please choose ECCP256 or ECCP384 for EV Code Signing Certificates, as YubiKey supports only ECC algorithms for EV Code Signing.
6. Enter the Subject Name for the certificate (your official organization’s name) and click Next. For demonstration purposes, we’ve entered “SSL Dragon” as the company name in the screenshot below.

7. Confirm the details shown and click Generate.

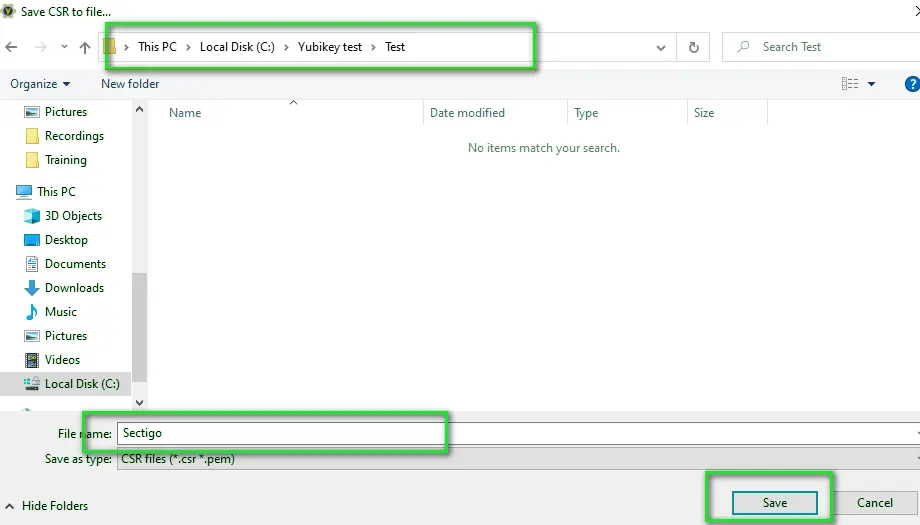
8. Choose a directory and provide a recognizable file name to save the CSR for later use.
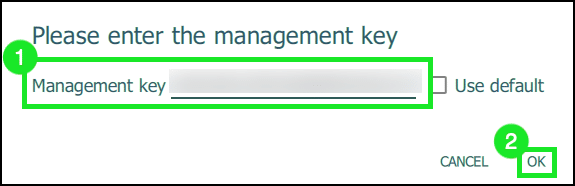
9. Enter your YubiKey’s management key when prompted and click OK.
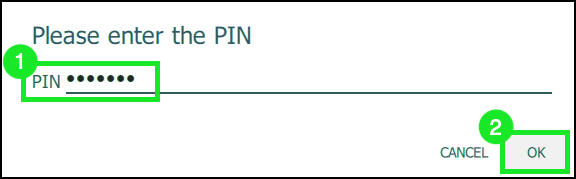
10. Enter your YubiKey PIN when prompted and click OK.
Generate Attestation Certificate:
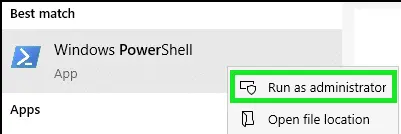
1. Open a PowerShell Window as Administrator.
2. Change directory to YubiKey directory:
cd 'C:\Program FilesYubico\YubiKey Manager\'
3. Execute the following command to create the attestation certificate (adjust the path where you want to save the certificate):
.\ykman.exe piv keys attest -F PEM 9a .crt
4. Execute the following command to get the intermediate certificate:
.\ykman.exe piv certificates export -F PEM f9 intermediateCA.crt
5. Combine the key attestation.crt and IntermediateCA.crt into one file attestation.pem with the command:
type attestation.crt intermediateCA.crt > attestation.pem
Once you’ve completed these steps and ensured the file is correctly encoded, you can upload the attestation.pem file as part of your Code Signing order form. This process ensures your code signing certificates are securely generated and ready for use with your YubiKey 5 FIPS HSM.
Save 10% on SSL Certificates when ordering from SSL Dragon today!
Fast issuance, strong encryption, 99.99% browser trust, dedicated support, and 25-day money-back guarantee. Coupon code: SAVE10
